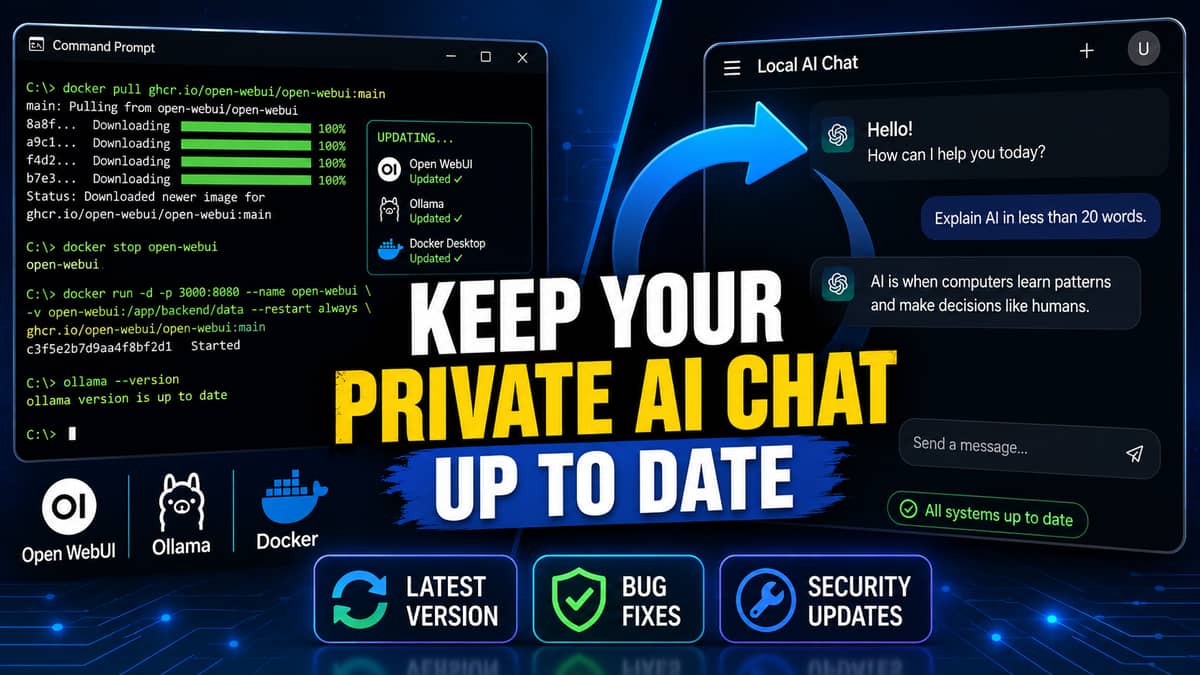
If you haven’t set up your private AI chat yet, start with our How to Run Your Own Private AI Chat Locally (Beginner Guide). This tutorial assumes you already have Open WebUI, Ollama, and Docker installed and focuses on how to update Open WebUI, Ollama, and Docker safely, keeping your AI environment current.
Once you’ve set up your private AI chat, keeping it up to date is just as important as installing it correctly.
Open WebUI, Ollama, and Docker regularly release updates that fix bugs, improve performance, introduce new features, and address security issues. Running outdated versions can lead to compatibility problems, missing functionality, or an unstable AI environment over time.
This guide shows you how to update Open WebUI, Ollama, and Docker step by step, while minimizing the risk of losing your chat history, settings, or existing AI models.
Before You Begin
Here, we’ll focus on updating local AI on Windows. Before updating your private AI chat, ensure you have the following:
- Internet connection — Required to download updates for Open WebUI, Ollama, and Docker
- Open WebUI closed — Exit any active AI chat sessions before updating. Leave Ollama and Docker running
- Backup (optional) — If you have important chats or settings, consider backing them up before proceeding
What You’ll Update
This guide covers updating these components:
- Ollama — updates the AI runtime
- Docker — updates the container platform
- Open WebUI — updates the web-based chat interface
The sections below show how to update each component safely.
Step-by-Step Update
This section shows how to check for updates and install the latest version of each component.
Step 1 – Check for Ollama Updates
Ollama automatically checks for updates in the background by default through the Auto-download updates setting in Settings, unless you disable it. Go to Settings to confirm this is on.
A.
Open Ollama. Click on the Ollama icon in the System Tray, and select Settings.

B.
Ensure the Auto-download updates toggle is on.

C.
If an update is available, Ollama will download it automatically in the background and display a notification banner above the Ollama icon in the System Tray. Notice that the Ollama icon now has a small arrow indicating that an update is available.

The Ollama download may take some time, depending on your internet speed. If you don’t see an update notification (a notification banner or an Ollama icon with an arrow), your Ollama installation is likely already up to date.
Step 2 – Update Ollama
If an update is available, install it.
A.
Click on the Ollama icon in the System Tray, and select Restart to update.

B.
Wait until the Ollama update finishes installing.

C.
Once completed, the arrow on the Ollama icon will disappear. To verify that Ollama is up to date, paste the following into your Command Prompt:
Command Prompt
ollama --versionand hit Enter.

Your Ollama update is complete. Next, we’ll update Docker.
Step 3 – Check for Docker Updates
A.
Docker automatically checks for updates in the background. If an update is available, you’ll see notifications at the top and bottom of your Docker window. Click the Update available notification at the bottom to open the Software Update window.

B.
Alternatively, if you’ve disabled automatic checks, click the version number at the bottom right instead to open the Software Update window.

If there is no update in the Software Update window, you can skip to Step 5. Otherwise, continue to Step 4 to update Docker.
Step 4 – Update Docker
A.
In the Software Update window, click Download update to download the update.

B.
Once the download is complete, click Install and restart.

C.
Click Yes if it asks you to allow the installer to make changes.

D.
Wait for the installation to complete.

E.
Once completed, Docker will restart. Docker may have multiple updates. If another update notification appears, repeat the process. Click the Update available notification to open the Software Update window.

F.
In the Software Update window click Update to proceed.

G.
Once the update is completed, click Check for updates once more. If there is no more update, you can close the Software Update window.

Docker update is complete. Next, we’ll update Open WebUI.
Step 5 – Check for Open WebUI Updates
A.
Open WebUI automatically checks for a new version each time it starts and shows a notification if an update is available.

B.
Alternatively, you can check manually. Click the user profile icon, then select Settings.

C.
Click About, then Check for updates to see if a new Open WebUI version is available.

Next, we’ll update Open WebUI using Docker.
Step 6 – Update Open WebUI
This section shows how to update Open WebUI safely while preserving your existing chat history and settings.
A.
Before you update Open WebUI, check your current version. Paste the following command into Command Prompt:
Command Prompt
docker images ghcr.io/open-webui/open-webuiand hit Enter.

B.
Note down the current Open WebUI Image ID (in this example b8095f79a6a8—yours may be different). You’ll remove this old image later after confirming the new one works correctly.

C.
Download the latest Open WebUI image. Paste the following command into your Command Prompt:
Command Prompt
docker pull ghcr.io/open-webui/open-webui:mainand hit Enter.

D.
Wait until Docker finishes downloading Open WebUI. Depending on your internet speed, this may take a while.

E.
Stop the existing Open WebUI container. Paste the following command into your Command Prompt:
Command Prompt
docker stop open-webuiand hit Enter.

F.
Remove the old container. Removing the container does not delete your chats or settings. They are stored separately in the Docker volume. Run the following command in your Command Prompt:
Command Prompt
docker rm open-webuiand hit Enter.

G.
Create a new container using the latest Open WebUI image. Paste the following command into your Command Prompt:
Command Prompt
docker run -d -p 3000:8080 --add-host=host.docker.internal:host-gateway -v open-webui:/app/backend/data --restart always --name open-webui ghcr.io/open-webui/open-webui:mainand hit Enter.

The process should complete quickly since the image was downloaded earlier. For an explanation of each parameter, see How to Run Your Own Private AI Chat Locally (Beginner Guide).
H.
Verify that Open WebUI is running correctly. Go back to your Docker Desktop window and click on the Open WebUI port (or open http://localhost:3000/ in your browser).

I.
Sign in to your existing Open WebUI account. Your chat history and settings should load exactly as before, now on the latest version.

J.
Type a prompt, then press Enter. You should get a response confirming everything is working correctly end-to-end.

K.
Once everything is working correctly, let’s remove the old image (b8095f79a6a8) to free up disk space. Run the following to list the existing images:
Command Prompt
docker images -aand hit Enter.

Notice that the old image (Image ID b8095f79a6a8) is now labelled as untagged, while the image with ID a26effeb220e is the new Open WebUI image that we just downloaded.
L.
Now run the following to remove the old image (replace with your own old image ID from Step 6B):
Command Prompt
docker image rm b8095f79a6a8and hit Enter.

M.
Verify that the old untagged image (Image ID b8095f79a6a8) has been removed and no longer in the list. Run the following:
Command Prompt
docker images -aand hit Enter.

You’ve successfully updated Open WebUI, Ollama, and Docker. Your private AI chat is now running the latest versions of all three components.
Common Issues & Fixes
If you encounter any issues during the update, here are some of the most common problems and their solutions.
Docker/Open WebUI Issues
●
Open WebUI shows “500: Internal Error” (http://localhost:3000/error)
Give it a few extra seconds. Open WebUI can take 10–30s to fully start after a restart or update; hitting the port too early causes this.
●
WSL needs updating. Your version of Windows Subsystem for Linux (WSL) is too old
Run in command prompt:wsl --updatewsl --shutdown
Then restart Docker Desktop.
●
Ports are not available (already in use)
Run in command prompt:net stop winnatnet start winnat
Then restart Docker Desktop.